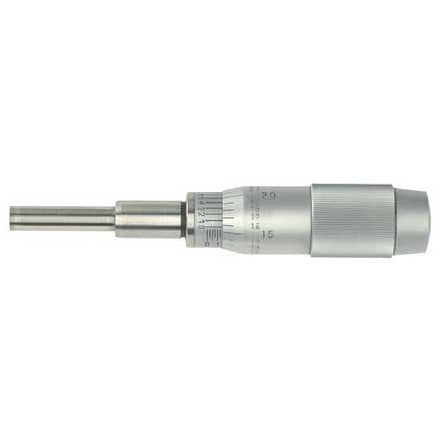
Standard Fowler Micrometers - Micrometer Heads
| PART # | DESCRIPTION | SIZE | PRICE | SALE PRICE |
A micrometer sometimes known as a micrometer screw gauge, is a device used widely in mechanical engineering and machining for precisely measuring, along with other metrological instruments such as dial calipers and vernier calipers. Micrometers are often, but not always, in the form of calipers.
There are five common types of micrometers; the names are based on their application:
- Outside micrometer- (aka micrometer caliper), typically used to measure wires, spheres, shafts and blocks.
- 3-pt contact with tungsten carbide measuring anvils above .5" (12.5mm)
- Inside micrometer- used to measure the diameter of holes
- Depth micrometer- measures depths of slots and steps.
- Bore micrometer- a 3 -anvil head on a micrometer base used to accurately measure inside diameters.
- Tube micrometer- used to measure the thickness of tubes.
Inch system
The spindle of an inch-system micrometer has 40 threads per inch, so that one turn moves the spindle axially 0.025 inch (1 ÷ 40 = 0.025), equal to the distance between two graduations on the frame. The 25 graduations on the thimble allow the 0.025 inch to be further divided, so that turning the thimble through one division moves the spindle axially 0.001 inch (0.025 ÷ 25 = 0.001). Thus, the reading is given by the number of whole divisions that are visible on the scale of the frame, multiplied by 25 (the number of thousandths of an inch that each division represents), plus the number of that division on the thimble which coincides with the axial zero line on the frame. The result will be the diameter expressed in thousandths of an inch. As the numbers 1, 2, 3, etc., appear below every fourth sub-division on the frame, indicating hundreds of thousandths, the reading can easily be taken mentally.
Metric system
The spindle of an ordinary metric micrometer has 2 threads per millimeter, and thus one complete revolution moves the spindle through a distance of 0.5 millimeter. The longitudinal line on the frame is graduated with 1 millimeter divisions and 0.5 millimeter subdivisions. The thimble has 50 graduations, each being 0.01 millimeter (one-hundredth of a millimeter). Thus, the reading is given by the number of millimeter divisions visible on the scale of the sleeve plus the particular division on the thimble which coincides with the axial line on the sleeve.
Vernier
Some micrometers are provided with a vernier scale on the sleeve in addition to the regular graduations. These permit measurements within 0.001 millimeter to be made on metric micrometers, or 0.0001 inches on inch-system micrometers. The additional digit of these micrometers is obtained by finding the line on the sleeve vernier scale which exactly coincides with one on the thimble. The number of this coinciding vernier line represents the additional digit.


